Adding a Dashed Connector in Draw.io
So, over the past two months, I was assigned to create use-case diagrams. I found a handy tool for this purpose i.e., draw.io. I never touched this type of diagram in my entire professional career. I learnt how to draw ones when I was in college, sure. But spending most of my time to date as a programmer or data engineer, I never got the chance to actually create one. It was clear that when I got this assignment, I was spending a substantial amount of time just figuring out how to include a dashed connecter (typically for representing "include" or "extend"). The funny thing is I could not find any clue of how to do this in their blog. So, here's how.
Step 0: Initiation
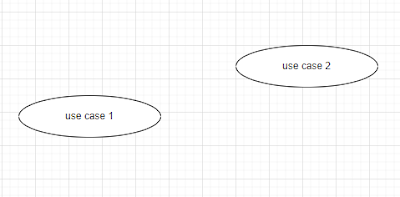
Suppose we have two cases: case 1 and case 2 (I know it was a genuine mistake to name the two cases as use case 1 and use case 2 as shown below. Heck, I'm too lazy to update the pictures, so from now on we will assume the name of the cases are case 1 and case 2, respectively). We want to connect case 1 and case 2 using the "include" connector which is styled as a dashed arrow.
Step 1: Creating an Arrow
Now, try to hover your mouse to the right-hand side of the case until an arrow shows up.
Hold your mouse and drag the arrow to the desired case i.e., case 2.Step 2: Transform the Arrow into a dashed arrow
Right-click on the arrow and select Edit Style
A dialogue box will appear. Add ";dashed=1;" in the text area and click Apply
Congratulation! your arrow is now a dashed arrow!
But wait, the job is yet to be finished! Just add one last thing: the caption. Click on the dashed arrow and start typing "include".


Comments
Post a Comment